Moss poles are an excellent way to support climbing house plants! Not only do they allow for the growth of aerial roots they add height to your house plant collection. In this guide, I’ll walk you through the simple steps to create your own plastic-backed moss poles. Let’s get started!
Don’t like reading? I’ve also made this helpful step-by-step video to follow along to below.
How to Make Plastic-Backed Moss Poles for Your Plants
What You’ll Need
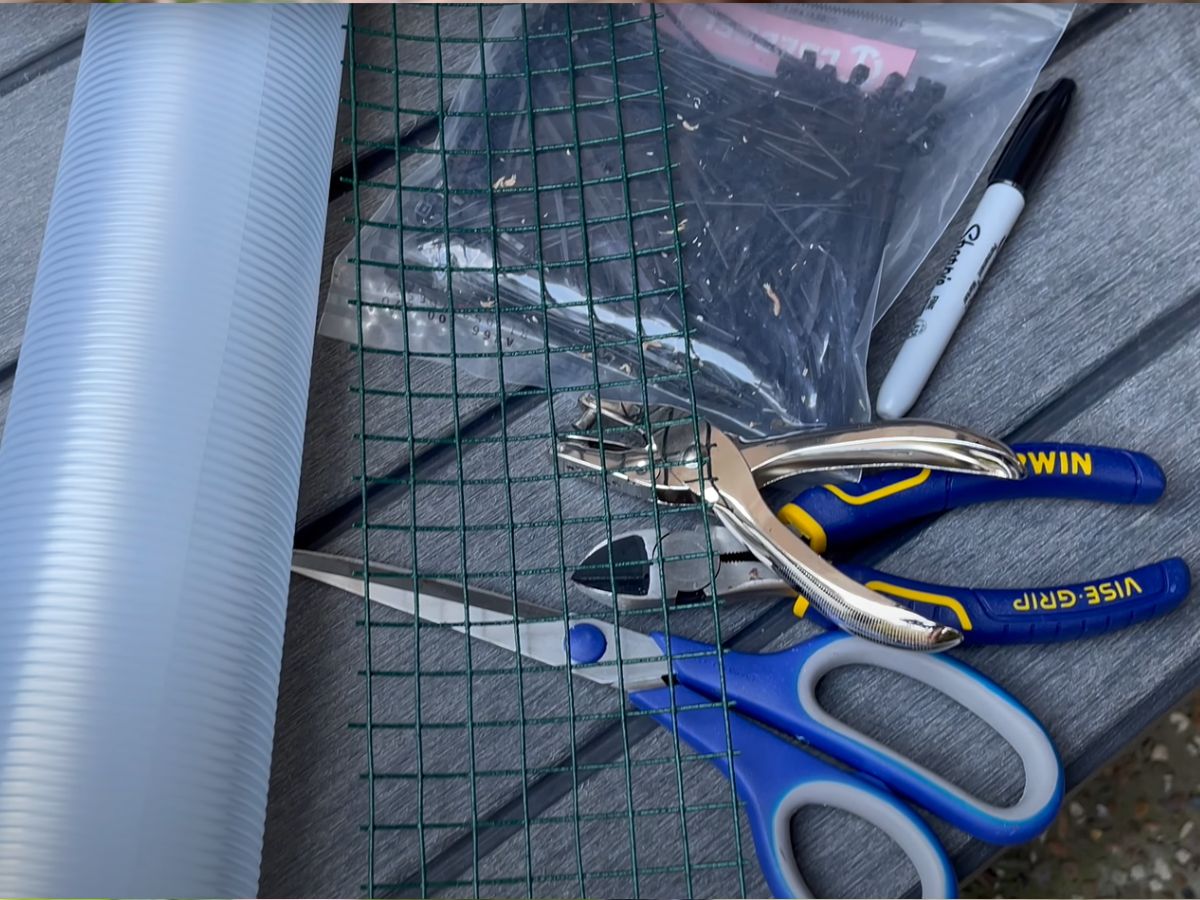
Before starting you’ll need to gather the following materials, most of these materials are readily available at home or garden stores.
- Mesh for the front: PVC-coated wire mesh works best.
- Plastic for the back: Kitchen drawer liners or polypropylene sheets.
- Zip ties: For securing the moss pole.
- Hole punch: To create holes in the plastic.
- Wire cutters: For trimming the mesh.
- Sharpie: For marking where to punch holes.
Step 1: Determine the Size
After gathering everything you need, first you’ll have to decide how tall and wide you want your moss pole to be. This depends on the type of plant you’re growing and your space constraints. Once you’ve determined the size, cut the plastic to the desired dimensions using scissors or a craft knife.
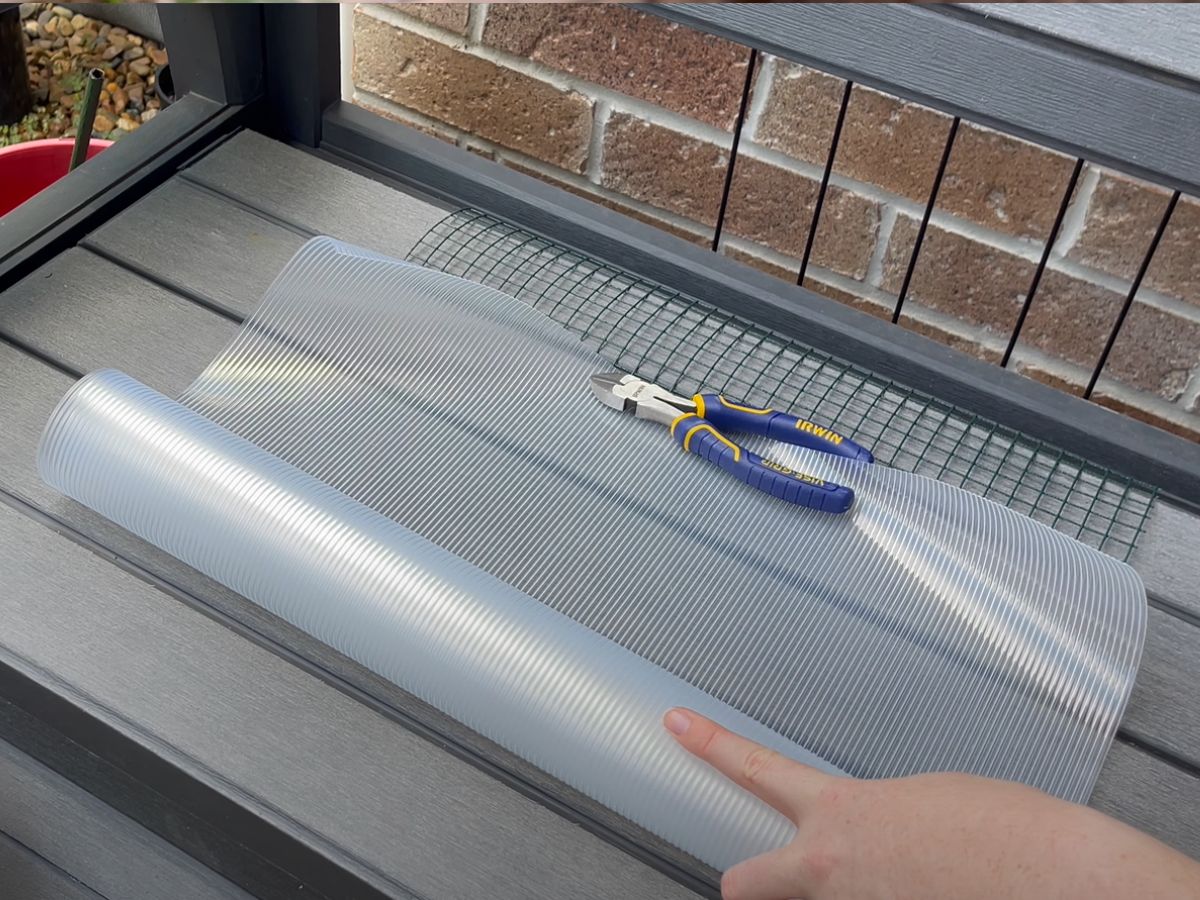
I’ve made mine approximately 1 foot (30cm) long, with the intention of growing my Philodendron jose bueno
Step 2: Mark and Make Holes
Using a Sharpie, mark where you’ll punch holes along the edges of the plastic. These holes will be used to secure the plastic to the mesh with zip ties. While precise measurements aren’t necessary, evenly spaced holes make for a tidy finish. Once marked, I use a hole punch to create the holes.
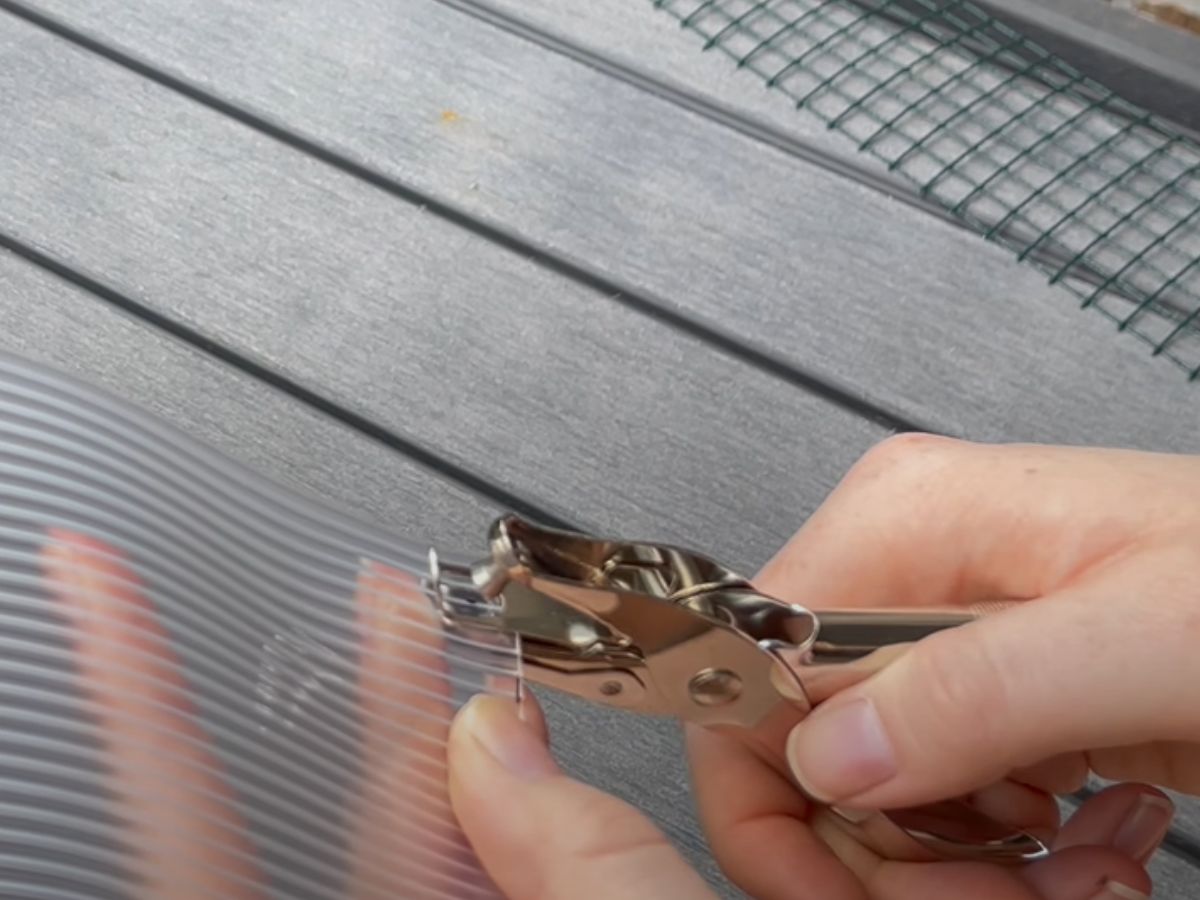
Tip: If you’re using thinner plastic, like kitchen drawer liners, ensure you handle it gently to avoid tears. If you are after something sturdier, polypropylene sheets also work well.
Step 3: Attach the Plastic to the Mesh
Next we want to lay the plastic over the wire mesh, aligning the edges. You’ll want to secure the plastic to the mesh by threading zip ties through the holes. Then tighten the zip ties to hold the plastic firmly in place.
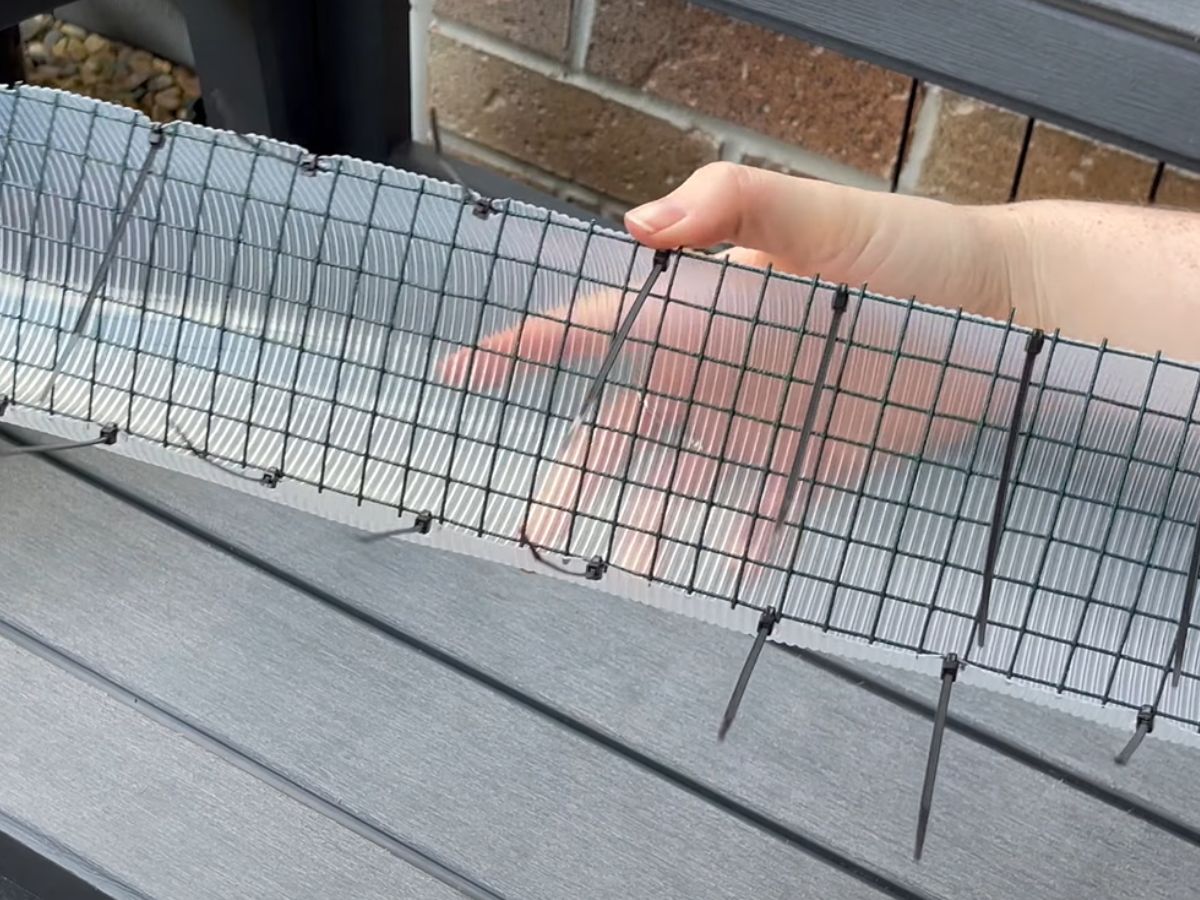
Step 4: Trim Excess
Once all zip ties are in place, use wire cutters (or scissors) to trim the excess length from each zip tie. Turn the cut ends inward to avoid sharp edges that could harm your plants or hands.
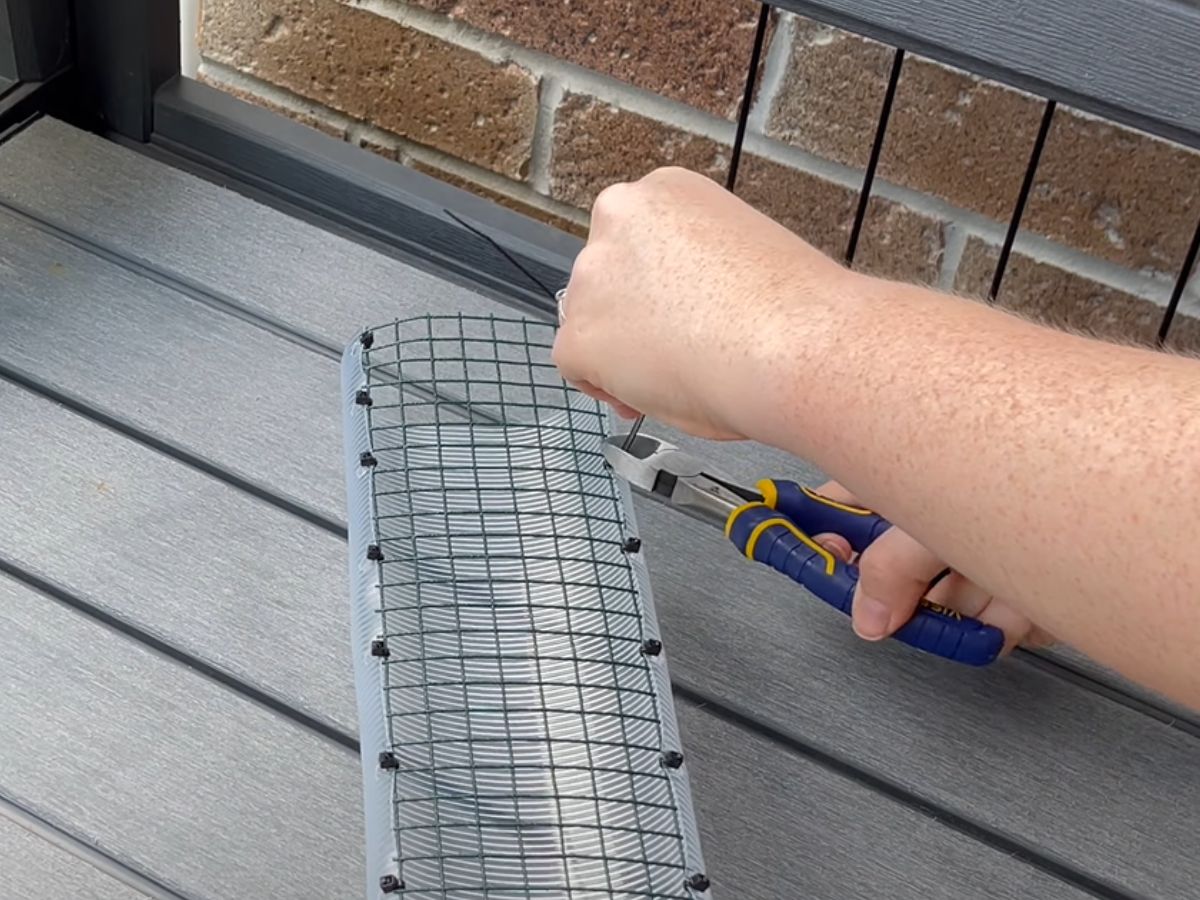
Step 5: Add Medium
Your plastic-backed moss pole is ready to use! Add moist sphagnum moss or another substrate such as aroid mix to the inside of the pole. The plastic backing helps retain moisture, creating a perfect environment for your climbing plants aerial roots.
Tip: To keep your moss pole effective, regularly mist the moss to maintain moisture levels.
Step 6: Add Plants!
Now that you’ve made your moss pole, now is the time to add your gorgeous house plants! Species like Monstera, Pothos & Syngonium love to climb and are perfect to add to these type of poles. After more inspiration on what to grow? Make sure to watch my video on 19 Plants to Grow on Moss Poles.
Why These Moss Poles Work
Plastic-backed moss poles are great for keeping moss moist longer, making them ideal for plants like Monstera, Philodendron, or Syngonium. You can also experiment with different substrates, such as aroid mixes, for unique plant needs.
These poles are particularly beneficial for supporting aerial roots, allowing climbing plants to attach securely and grow vertically. This setup mimics their natural habitat, promoting healthier growth.
What plants are you growing on your moss poles? I’d love to see your creations! Share photos of your completed moss poles or unique designs with us on socials!

